 AI Agents Hub
How to Build Your First AI Coding Agent in 2026
A practical guide to building your first AI coding agent using Cline, Claude Code, and LangGraph. From zero to a working autonomous coding assistant in 30 minutes.
Building your first AI coding agent sounds intimidating. It is not. In 30 minutes and with three tools from our 62-agent directory, you can have a working autonomous coding assistant running in VS Code — one that reads your project, edits files, runs tests, and plans its own next steps. This guide skips the theory and gets you to a working result.
What you are building
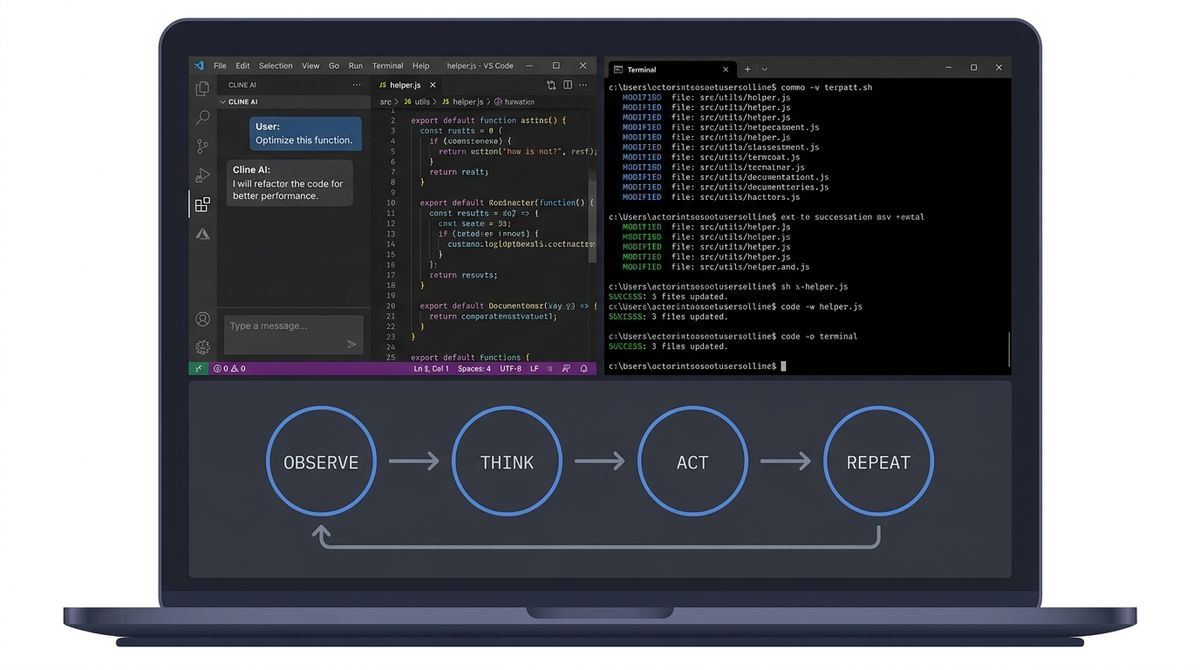
An AI coding agent is a loop: observe → think → act → repeat. The model looks at your codebase, decides what to do, does it, checks the result, and keeps going until the task is done. You set the goal; the agent handles the execution. This is the pattern behind every tool in our directory — from Claude Code to Cline — and you can build a simple version of it yourself.
We are going to use three tools in sequence:
- Cline — the fastest way to have a working agent in VS Code today (5 minutes)
- Claude Code — if you want the terminal-native experience with a stronger model (10 minutes)
- LangGraph — if you want to understand and build the orchestration layer yourself (15 minutes)
You only need to follow all three if you want to understand the stack end-to-end. For a working agent today, start with step one.
Step 1: Install Cline in VS Code (5 minutes)
Cline is the fastest on-ramp. It is a VS Code extension that turns your existing editor into an autonomous coding agent. You bring your own API key; Cline brings the agentic loop, the file operations, and the web browsing tools.
What you need: VS Code, an API key from OpenRouter or Anthropic, and 5 minutes.
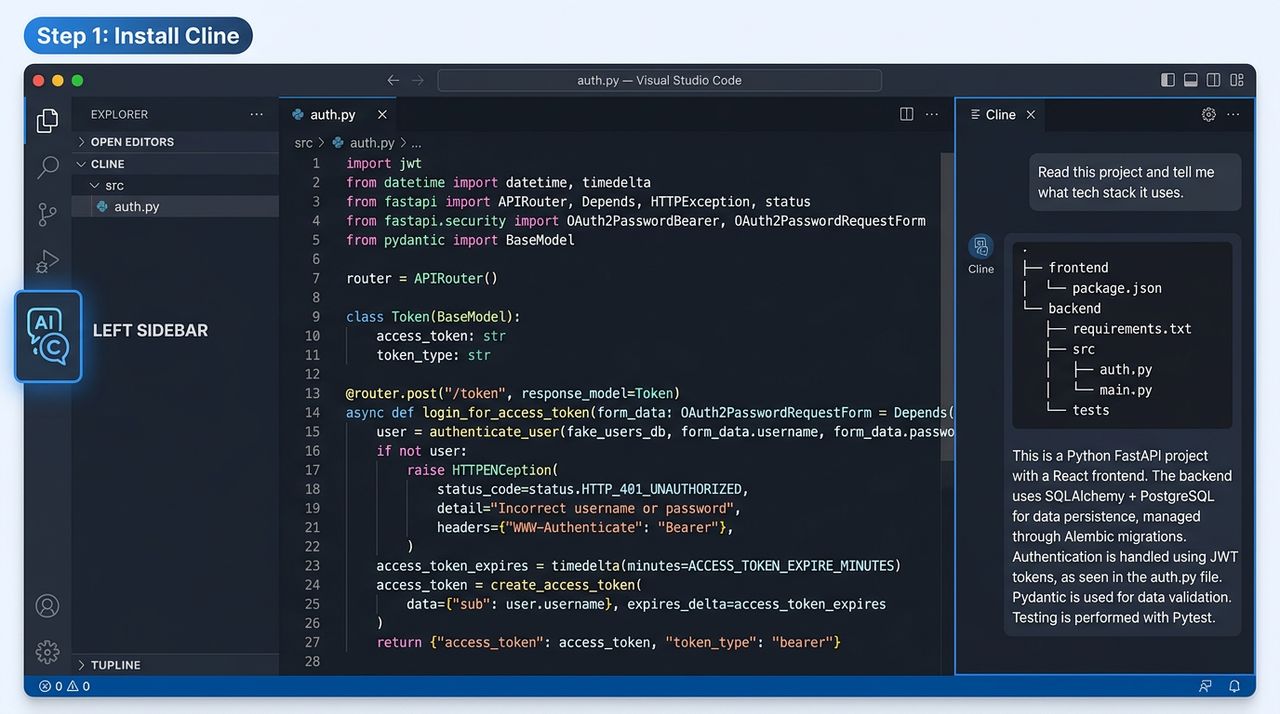
Open VS Code, go to Extensions, search for "Cline," and install it. Once installed, click the Cline icon in the sidebar. You will see a prompt to enter an API provider and key. Choose OpenRouter (it aggregates multiple models including Claude and GPT at wholesale prices) and paste your key. That's the entire setup.
Open a project folder in VS Code, click the Cline chat panel, and type:
Read this project and tell me what technology stack it uses.
Cline will read the package.json (or equivalent), scan the directory structure, and give you an answer. That single action — read, understand, answer — is the agent loop running. Everything else is an extension of that pattern.
Step 2: Make Cline edit files and run commands (5 minutes)
Having Cline answer questions is the beginning. Making it edit files and run commands is where it becomes useful. Try this in the same project:
In src/, find every file that uses
varand refactor it to useconst. Runnpm testto verify nothing broke.
Cline will:
- Glob for all .js/.ts files in src/
- Read each one, identify
vardeclarations - Rewrite them with
const - Run the test suite
- Report the results
You watch it work. You can interrupt at any point. When it finishes, you have a diff — a real code change in your project, verified by your own test suite. This is the agent working as an autonomous coding assistant, not just a chatbot.
Step 3: Add Claude Code for harder tasks (10 minutes)
Claude Code is the terminal-native alternative. If you find yourself wanting a stronger model for complex refactors — or if you want to understand what the harness architecture looks like — it is worth installing.
On macOS or Linux:
curl -fsSL https://claude.ai/install.sh | bashOn Windows (PowerShell):
irm https://claude.ai/install.ps1 | iexThen:
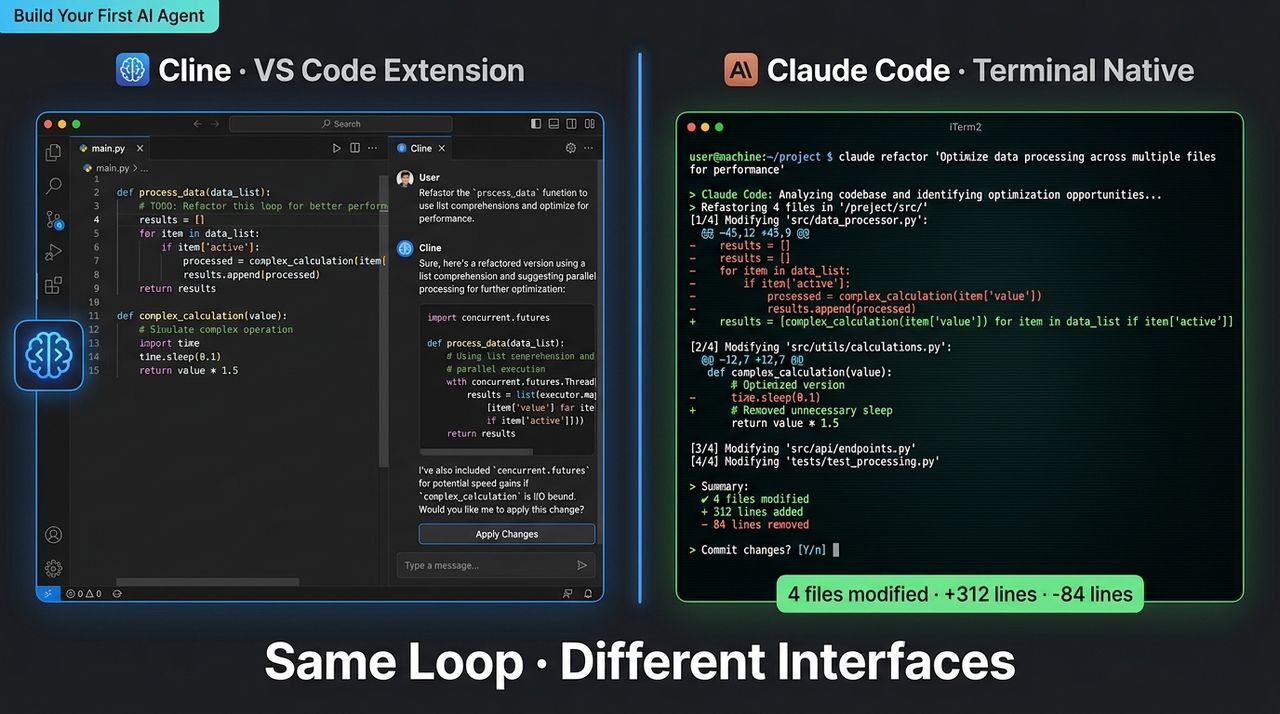
claudeNavigate to your project directory first, then run claude. The terminal will open an interactive session with full access to your codebase, your shell, and the Claude model. The loop is the same as Cline's; the model is stronger, and the interface is the terminal rather than a VS Code panel.
Claude Code's key advantage for hard tasks is the context management: it reads your entire project by default, it can run multi-file refactors across dozens of files in one session, and it reports its diffs explicitly so you can review before anything is committed. For the gnarly refactors that Cline handles but struggles with, Claude Code is the next step.
Step 4: Understand the orchestration with LangGraph (15 minutes)
If you want to understand how the agent loop works under the hood — or if you want to build your own agent from scratch — LangGraph is the right framework. It is a Python library for building agentic workflows: you define the nodes (read file, write file, run command, call model) and the edges (how the workflow moves from node to node), and LangGraph runs the loop.
LangGraph is overkill for using an existing agent. It is essential for building new agentic systems or custom workflows that no existing tool handles. If you want to understand the architecture — or if you are a team building an internal agent — this is where to look.
The minimal LangGraph agent looks like this:
from langgraph.graph import StateGraph
from langchain_anthropic import ChatAnthropic

llm = ChatAnthropic(model="claude-sonnet-4-5")

def act_node(state):
    # Call the model with the current task
    response = llm.invoke(state["messages"])
    return {"messages": [response]}

graph = StateGraph()
graph.add_node("act", act_node)
graph.set_entry_point("act")
graph.set_finish_point("act")
app = graph.compile()

# Run it
for event in app.stream({"messages": ["refactor all var to const in src/"]}):
    print(event)
This is approximately 15 lines of code that reproduce the core agent loop. Everything in the complex tools in our directory — the tools, the context management, the permission systems — is an elaboration of this pattern. LangGraph and Mastra (the TypeScript equivalent) are the frameworks for building those elaborations.
The tool ladder: when to use which
You do not need all three. Here is the honest decision tree:
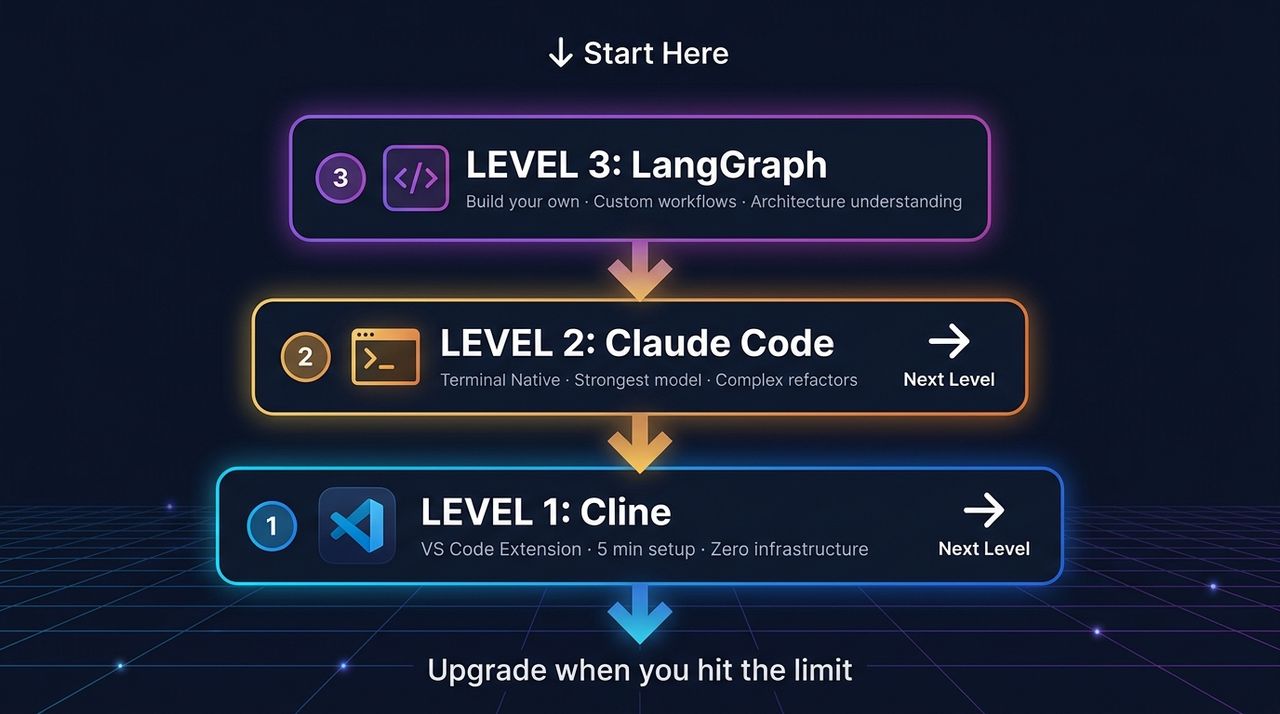
Start with Cline if: you use VS Code, you want zero infrastructure, and you want a working agent in 5 minutes.
Add Claude Code if: you live in the terminal, you run complex multi-file refactors, or you need the strongest available model for hard tasks.
Learn LangGraph if: you want to understand the architecture, you work on agent infrastructure, or you need a custom workflow that no existing tool handles.
Three things to do on day one
Install Cline today and run one task with it — a real task in a real project, not a toy example. A refactor, a test generation, a bug investigation. The gap between "reading about agents" and "having an agent do work for you" is one afternoon.
After that: put a CLAUDE.md or Cline config in your project root that describes your tech stack, your conventions, and your most common commands. This is the single highest-leverage configuration step — it costs 10 minutes and makes the agent dramatically more useful from the first message.
Third: set a habit of reviewing diffs before the agent commits. Every agent in our directory supports git diff as the review step. Do not skip it. The agent is strong; the review is yours.
What comes next
Once you have a working agent in your workflow, the natural next steps are:
- Add MCP servers to give your agent access to your database, your GitHub, or your browser (see our Claude Code and Cline profiles for MCP setup)
- Configure skills and hooks for your project's specific conventions (see the Claude Code advanced config guide in our directory)
- Explore multi-agent orchestration for compound tasks that require different specialized agents working together
The 62 agents in our directory cover every layer of this stack — from the end-user tools (Cline, Claude Code, Cursor) to the orchestration frameworks (LangGraph, Mastra, CrewAI) to the protocols that connect them (MCP). Start with one, use it until you hit its limit, and move up the ladder.
Bottom line
You can have a working AI coding agent in VS Code in 5 minutes. Cline with an OpenRouter key is the fastest path. Claude Code is the upgrade when you need more power. LangGraph is for understanding the architecture and building custom workflows. The observe-think-act loop that powers all of them is the same — once you see it, you will recognize it everywhere in the agent ecosystem.
See the full profiles — benchmarks, pricing, and setup guides — for Cline, Claude Code, and LangGraph in our directory.